How to Deep Clean Your Home (or an Investment Property) Yourself
There are many reasons you might decide to deep clean your home. If you’re preparing to sell it, a spotless home doesn’t just look good, it sells faster and for more. If you’re getting ready to move in, you want to make sure that all traces of the past are gone and you have a firm basis for the future. If it’s been a while since your last deep cleaning or you just carried out a dusty, dirty renovation, it’s probably a good time. Here are the steps you need to follow: tips for deep cleaning house tasks from start to finish.
Start Smart- Prep Like a Pro (How to Deep Clean Your Home: Setup)
Before you touch a sponge, set yourself up for success. Good preparation makes the deep cleaning faster, more effective, and less stressful.
- Remove small items that might get in the way when you clean or that need to be put away so that you have to move as little as possible when you are in the throes of cleaning.
- Get your products and tools assembled, and your cleaning formulas prepared. Check out our recommendations below for: Best cleaning tools, best homemade cleaning solutions that work, as well as our favorite store-bought products and solutions.
- Plan your days and cleaning tasks: It’s usually best to complete tasks in batches. Do all windows one day, all baseboards and floors the next, etc., because it’s usually faster when tackling large tasks to keep your momentum up than switching tools and products each room.
- Tackle top-to-bottom, clean-to-dirty. Start with ceilings, fans, and lights; end with floors and baseboards. Move from the cleanest spaces to the dirtiest (kitchens and bathrooms last).
- Don’t forget to plan in your breaks.
- Assemble your cleaning kit.
👉 Looking for cleaning formula recipes?
Check out our DIY Cleaning ECO Recipes + Free Printable DIY Cleaning Recipes.
Follow the Golden Rules of Deep Cleaning
- Dry before wet: Dry-dust before you wet-wipe. (Although a slightly damp dust rag can take up a large amount of dust in cases where there is a risk of dust flying away.) This also goes for dry cleaning any surface before wet cleaning, such as dry-wiping dust and loose dirt away first before spraying any cleaner onto the surface.
- Always clean a room from top to bottom, as dust and dirt fall downwards.
- Clean from left to right or clockwise in a room (if you are right-handed) or the opposite, if not.
- Let chemistry work. Allow adequate dwell time of sprayed or wiped-on cleaning products on surfaces to do their job and loosen dirt and grease, grime, stains, and dried spills. These need time for the chemical reactions to take place and for the dried dirt and grime to rehydrate so it can be scrubbed and/or wiped away more easily.
- Any smooth/shiny surface you have wet-cleaned: Rinse or wipe and then buff dry with a soft, dry cotton cloth to avoid streaks. One exception would be the use of a squeegee on shower glass and (sometimes) on windows.
- I always wear gloves (to keep my hands from drying out from chemicals), but it also does the double duty of softening them and keeping them from smelling like cleaning solutions.
- Always wipe and clean stainless steel appliance faces and wood surfaces with the grain (if there is one), there usually is.
- Always test products on surfaces in an inconspicuous area before use.
- Lighting matters. Clean in daylight if possible, then turn on every light fixture that buyers or visitors do, and you will catch most smudges. Also, look at surfaces when sunlight falls on them at a low angle (early/late in the day). The shadows will also give a new view and show any ‘missed’ spots.
- Use a neutral-scent strategy. Fresh air first (open windows), then odor removal. Enzyme cleaners—never mask odors with heavy scents. If you choose to use essential oils to add scent to a room or enhance natural cleaners, ensure they are complementary (such as all woody scents, all citrus and floral scents, or all spices). Also, select scents that are appropriate for each location. Lemon/citrus oil scent or peppermint oil scent are two good all-rounders.
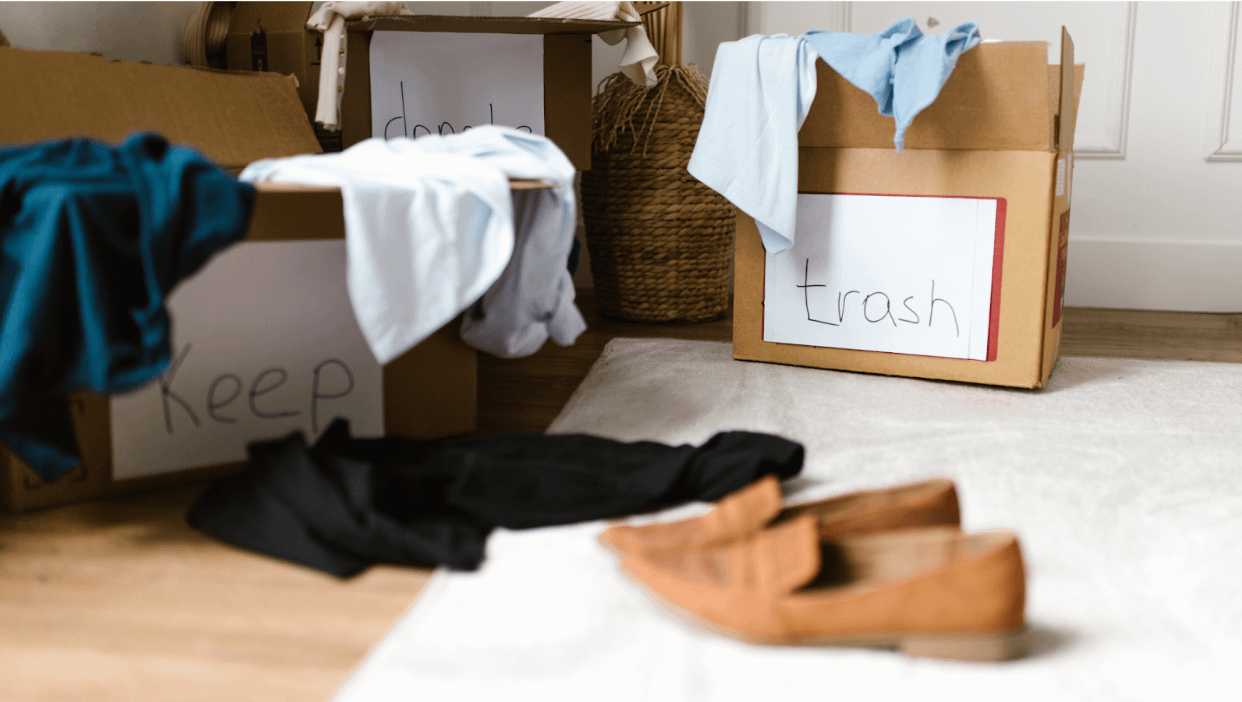
- Before you clean any areas or surfaces, declutter first. That wa,y you don’t have to clean around things, and you can wipe off the things you declutter before putting the ones you need back.
- NEVER MIX:
- Bleach + Ammonia
- Bleach + Vinegar
- Vinegar + Hydrogen Peroxide
- Bleach + Ammonia

Your Room-by-Room Deep Cleaning Guides
Each section below includes tips and product suggestions for:
- Kitchen Deep Cleaning
- Bathroom & Shower Restoration
- Windows & Glass Cleaning
- Walls, Trim & High-Touch Surfaces
- Hard Floors
- Carpets, Rugs & Upholstery
- Laundry Areas & Soft Furnishings
How to Clean Interiors (Deep Cleaning House Basics)
Check out our Tools and Cleaning Solutions resource or our Homemade Eco Cleaning Solutions resource with all the cleaning tools and products that are referenced in the cleaning guides below.
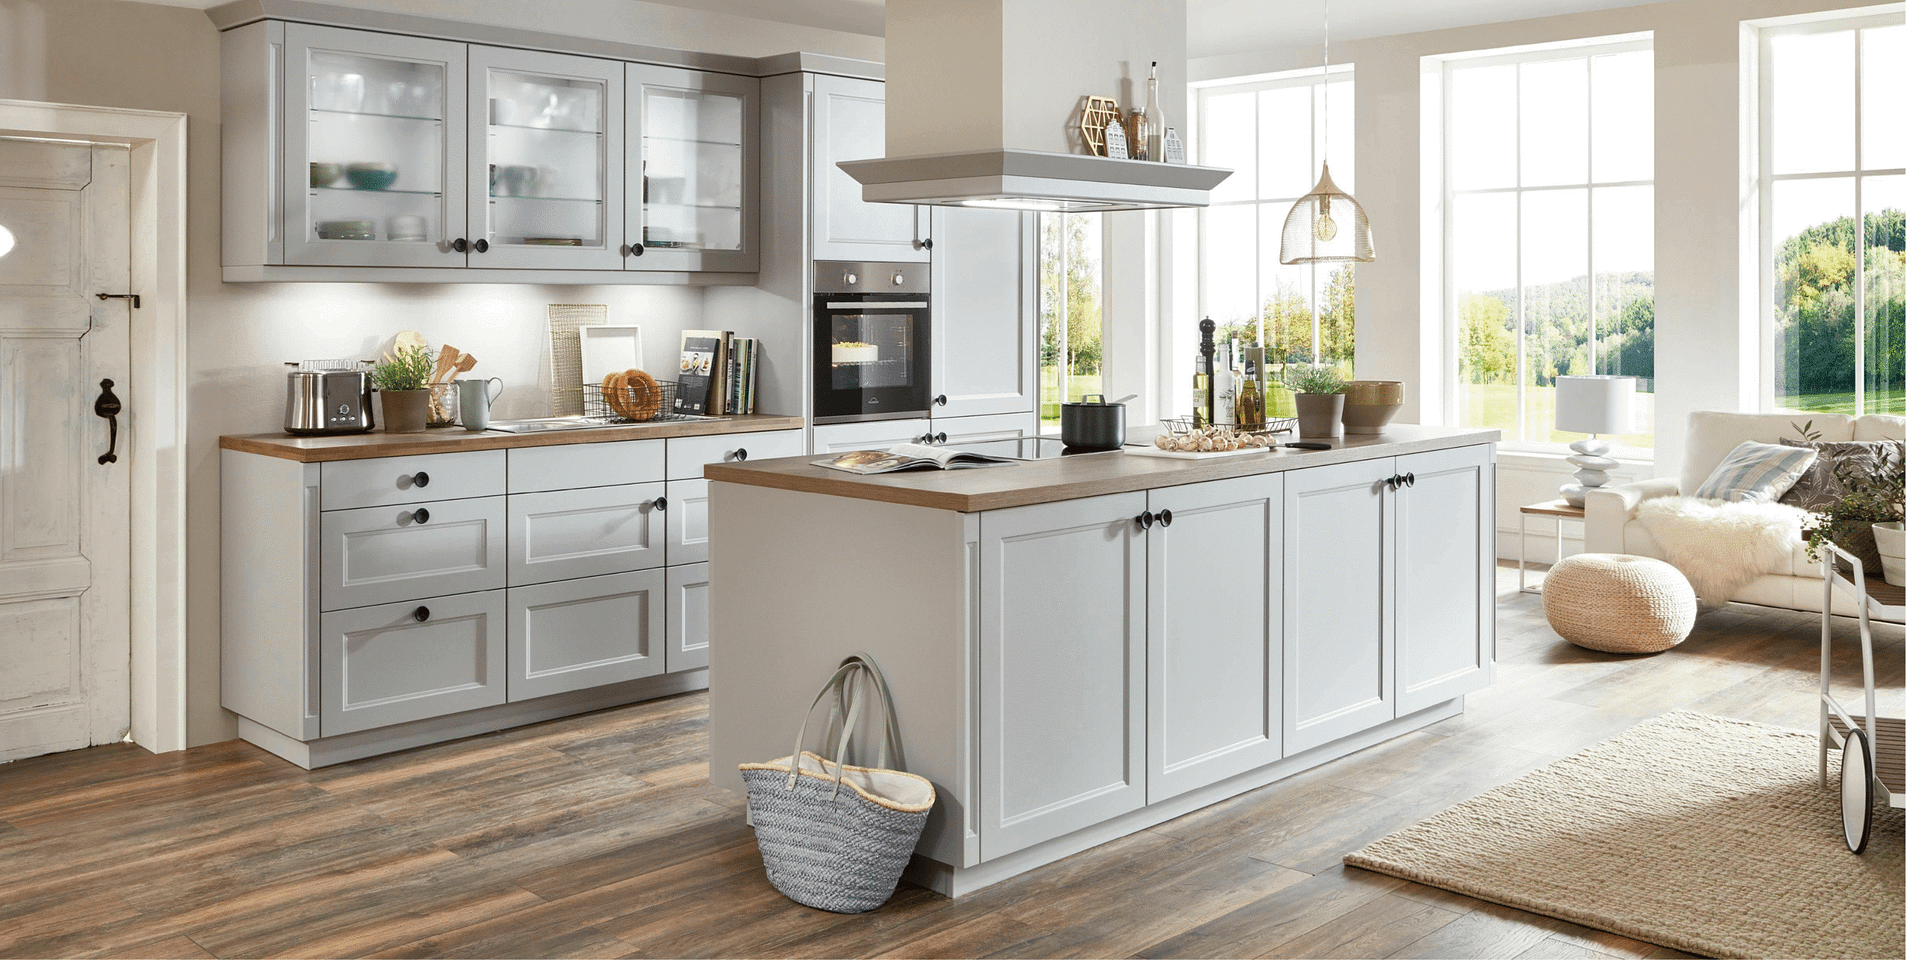
Deep Cleaning the Kitchen
If you don’t have a microfiber duster with a bendable head, you can reach up to clean the tops of your cabinets with a microfiber floor mop to pick up the dust and dirt. Make sure to use a ‘fluffy’ microfiber pad on the mop for the best results.
Put a few drops of peppermint essential oil onto a cloth and wipe the outside of your garbage bin—it will smell nice and ward off bugs.
To clean general areas of your kitchen, use the MULTI-PURPOSE CLEANING SPRAY (MP 2) or a store-bought version. First, dry-wipe your surfaces and counters to remove larger pieces of dirt, and then spray the cleaner onto the surface and wipe clean with a soft cloth. Do not use this mixture on natural stone or unsealed quartz counters, as it contains vinegar (acid) that will break down stone. Use a natural stone cleaner or a mixture of dish soap and water on stone.
Try making our homemade MULTI-PURPOSE CLEANER & SANITIZER (MP 3) in a spray bottle to spray onto a clean cleaning cloth to degrease in your kitchen. As an alternative (if it is extra greasy), for example if there is a film on your cabinets and handles, use (KD 1 or KD 2) Kitchen Degreasers. Spray and leave on 5 mins, then wipe with a microfiber cloth. An alternative pre-made spray that is highly recommended to clean greasy cabinets: Murphy’s Oil Soap Cleaning Spray. Spray onto a rag as directed and wipe door fronts, drawer fronts, and handles. For extra tough jobs, try spraying directly onto the door or drawer front.

Pro tip: If you have grooves on your door and drawer fronts, use Q-tip swabs dipped in cleaner to get into nooks and crannies. Tight seams and crevices can be cleaned out using wooden toothpicks.
To clean greasy backsplashes, use KITCHEN DEGREASER formula (KD 1 or KD 2) depending on the amount of grease. Do not use this mixture on natural stone. Use a natural stone cleaner.
To clean your stainless steel sink (remove limescale and grime): Use the kitchen stovetop cleaner (also known as MP 1 scrubbing paste) to clean and deodorize your sink and add the hydrogen peroxide on a cleaning cloth or in a spray bottle to finish with sanitization.
An alternative method to clean a kitchen sink is to take a lemon half and sprinkle baking soda on the cut flat face. Hold the back of the lemon and brush that face around the surface of your sink in the direction of the grain (if stainless steel). Rinse clean. This cleans and deodorizes. Some sources report, however, that lemon adds to the pitting of the surface of stainless steel, so use this method sparingly on stainless steel sinks.
Isopropyl (70%+) alcohol or hydrogen peroxide (used according to EPA guidelines) will sanitize your sink after you clean it first. Clean a surface first to remove dirt that germs can stick to and then sanitize (two-step process). Wipe onto the sink in the direction of the grain. Do not use bleach or ammonia-based products on stainless steel, as they corrode the surface over time.
Here is the link to the EPA’s full list of disinfectants (US)
Clean limescale from your faucet spouts by pouring vinegar into a zip-lock bag (enough to fill about an inch) and hang the bag from your faucet spout overnight by zipping the top over the neck of the faucet and strapping/securing the hanging bag with large rubber bands. Brush off crusty limescale in the morning with a clean paper towel and run warm water. Also, some faucet spouts will twist off, and the filter screen can be removed to be soaked in a small dish containing vinegar overnight.
Ensure your drain is unclogged and your food disposal (if you have one) is clean and hygienic. Refer to our drain-unclogging tips (in the Bathroom section).
Glass Surface Stovetop: Use kitchen stovetop cleaner paste (MP 1 — mixture of dish soap and baking soda). Spread the paste around on the stovetop to clean off dried food. For burnt-on food or grease, make a wetter paste with more dish soap and let the solution sit for at least an hour directly on top of problem areas. For extra cooked-on food, let the mixture sit overnight while covered with wet paper towels. Sponge off: scrub in a circular motion with a non-scratch sponge, Scotch-Brite non-scratch pad, or microfiber cleaning cloth, and then remove the paste with the sponge, pad, cloth, or paper towel. You will feel when the food/dirt is gone. Wipe clean and polish with a dry cotton dish towel.
Gas range: Remove the iron grates and clean them by soaking them in the sink filled with warm water and a dissolved dishwasher pod (degreaser and cleaner). Wipe the remaining areas of the cooktop using our MULTI-PURPOSE CLEANER & SANITIZER (MP 3) cleaner or KITCHEN DEGREASER (KD 2) if there is heavy grease and baked-on food. If scrubbing is necessary, I suggest the (MP 1) MULTI-PURPOSE CLEANER paste.
Oven: Use OVEN DEEP CLEANER (KO 1). Spray the mixture on all interior surfaces and let it sit for a few hours. Scrub in a circular motion with a scrub sponge, wipe, and dry. An alternative to this is to apply (MP 1) and let it sit for a few hours or overnight. Then, spray vinegar on the mixture, let it foam, scrub in a circular motion with a sponge, wipe clean, and dry.
For store-bought solutions: the PUMIE brand scouring stick gets top marks, as well as EASY-OFF brand spray cleanser with the least amount of effort (although not great when there are kids/pets nearby). This one is sprayed on, left to work, then light scrub/wipe clean. SCRUB DADDY’s PowerPaste Cleaning Kit also gets top marks for being extremely effective and easy.

BATHROOMS (Tips for Deep Cleaning House Surfaces)
Shower head — to make it sparkle (remove limescale and grime): Take a lemon half and sprinkle baking soda on the cut flat face. Hold the back of the lemon and brush that face around the surface of your chrome, stainless steel, or nickel-plated shower head.
Shower glass — Use Bathroom SHOWER GLASS FORMULA (SGC 1) and spray onto your shower glass. Use a cloth to wipe/clean the glass in a circular motion, then rinse. One tip I’ve seen is to use dishwasher rinse aid or Rain-X brand solutions on a soft rag and rub over the dry glass to help keep lime from coming back. Use a glass squeegee or wipe dry with a soft, absorbent towel/rag for extra shine.
For limescale or heavy soap scum on the shower glass—I recommend SHOWER GLASS CLEANER (SGC 2). Let the mixture sit on the glass for 5–10 mins. Then use a motorized soft brush or a microfiber rag to scrub in a circular motion. For heavy limescale, you may need to use a razor scraper. Rinse clean and squeegee or polish dry with a soft cotton cloth. The store-bought (non-eco) solution I recommend includes SCRUB DADDY PowerPaste Cleaning Kit.
For extra defiant soap scum, hard-water marks, and limescale, try using (MP 1) MULTI-PURPOSE CLEANING paste or Bar Keepers Friend soft scrub. Again, use a motorized soft brush or a microfiber rag to scrub in a circular motion and possibly a razor scraper. Rinse clean and squeegee or polish dry with a soft cotton cloth.
For easy sink cleaning, put a dish-soap/white-vinegar BATHROOM CLEANER (BC 1) in a dish brush to use to clean your bathroom sink and tub. Do not use this mix on natural stone—use a natural stone cleaner.
Note: Always clean a surface first to remove dirt that germs can stick to, and then sanitize (two-step process). Isopropyl (70%+) alcohol or hydrogen peroxide (used according to EPA guidelines) will sanitize your sink, faucet handles, etc., after you clean them first. Some cleaners do both—make sure to understand the difference and check ingredients.
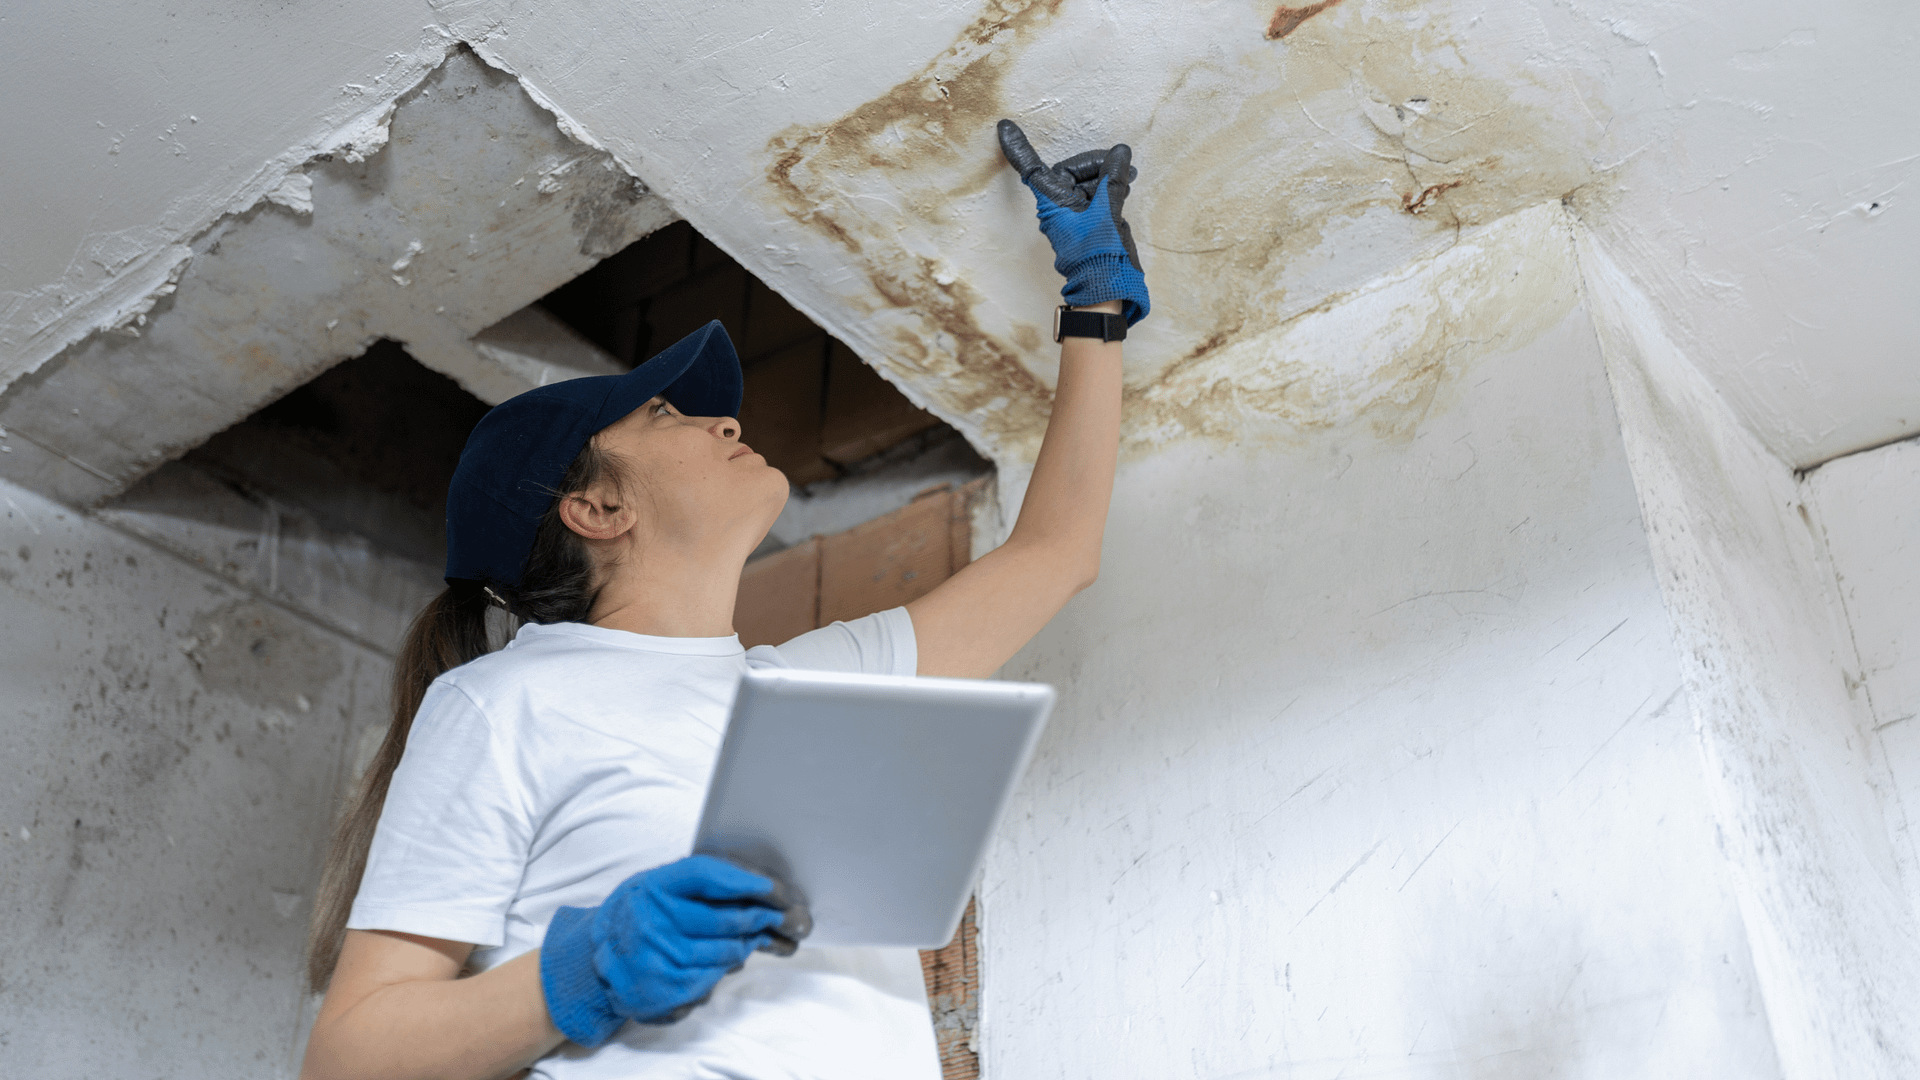
Clean your shower and bath (tile, caulking, and grout) of mold first, then concentrate on the dirt and grime: See MOLD REMOVAL FORMULAS (MR 1 or MR 2) or try store brand Concrobium spray in areas where pets and children do not have access. Tea tree oil is effective at removing small, isolated mold spots (for example, on caulking around the tub).

Next, clean any tile grout. Consider using grout formulas (TGC 1 and TGC 2). Work in panels or smaller areas. Apply grout solution to the grout and let it sit for 10 minutes while you are scrubbing the previous section.
Heavy-duty grout clean using TILE GROUT CLEANER 1 (TGC 1) paste: Dip a stationary brush into the paste to apply it specifically into the grout lines. Give the peroxide a little time to lighten/brighten the grout (requires a short period to sit) and then start scrubbing. If you have a battery-operated scrubber, this is when to use the rotational function. If you can rinse clean, that’s preferred; or wipe clean with a wet rag after, and then dry with a cotton rag or towel.

Lighter-duty grout cleaner TILE GROUT CLEANER 2 (TGC 2) can be applied by adding all ingredients into a squeeze bottle (dollar store) with a cone nose so the solution can be easily squeezed out onto grout lines. Leave 10 mins each area to sink in before scrubbing with a brush. Rinse and wipe clean.
Grout sealer — When you are done cleaning (or after you have installed new tile/grout), consider sealing your grout. Grout sealers are available at most box-type DIY stores and hardware stores. One other method is to use the bottom edge of a small white votive candle and run it along the line of the grout to seal it for a few months.
Toilet — Do not clean your toilet seat and bowl with the same sponge used for the rest of the bathroom! Instead, use a Clorox or disinfectant wipe to clean the flush handle first, then the seat (cleaner areas), followed by the cleaner outside areas: outside of the bowl, tank, and seat cover; and then under the seat, the bowl rim, and the inside of the rim—this may require two wipes. Then throw the wipe in the trash. Then, clean the inside of the toilet bowl with a brush and a bowl cleaner. Flush the toilet and rinse the brush by swirling it around in the refilled, clean bowl water. Lay the handle down horizontally between seats (raise the seat to lay the brush down), then lower the seat to keep the brush steady, pinned on top of the bowl with the brush hanging over the inside of the bowl to dry, then replace the brush. I drip a few drops of cleaner into the bottom of the brush holder cup.
For a slow-moving or clogged drain: Try these options in order.
Start by taking out the sink stopper and any standing water in a sink, then:
- First, try using a drain snake or a plunger (with any overflow hole plugged).
- The next method you may try is pouring 1 cup of baking soda down the drain, followed by 1 cup of white vinegar. The drain stopper or some other type of plug (like a wet rag) must be placed back over the drain hole so that the mixture, which bubbles up, is forced downwards towards the clog. Let that sit for 15 minutes. Remove the stopper and run hot water to clear the clog.
- If that fails, try pouring boiling water down the drain only if you have metal pipes.
- Commercial drain cleaner should be a last resort—use as directed. Note: Some are only intended for metal pipes.
WINDOWS (Tips for Deep Cleaning House Glass)
There are a few home-remedy formulas for window-cleaning solutions. Whichever one you use, it should remove dirt and oil-based finger smudges as well as leave behind a streak-free finish. Our recommendation is to use equal amounts of warm distilled water and cleaning vinegar (pared down MP 2) in a spray bottle. If you make your own window cleaner, I recommend using a spray bottle with a wide spray setting and lightly misting the glass in a zig-zag pattern from top to bottom with the glass-cleaning solution. There is no need to overspray the glass, which usually makes more of a mess. Take a soft microfiber rag and wipe the glass in a circular motion or use a squeegee working from top to bottom. The pros use a zig-zag pattern, and the squeegee moves from top to bottom without leaving the glass—I find this is easier on larger pieces of glass. Go back and clean the window tracks with a rag or paper towels when you are finished, after you have vacuumed out any loose dirt and debris.
WALLS AND TRIM (Deep Cleaning House Dust & Marks)
Walls and trim should be dusted every so often. Our recommendation is to use a microfiber low- to mid-pile fluffy pad placed onto the end of a microfiber flat mop. The long handle is ideal for reaching up and pushing the flat mop head along the tops of walls where any crown molding might be. Then draw the mop from top to bottom in vertical strokes—working around the room to remove dust from walls. Our DUSTING FORMULA (DS 1) is ideal to remove heavier dust or dirt build-up and, with a little essential oil added in, leaves a fresh, natural scent. Clean trim (window frames, window sills, door frames, and door faces) with a MULTI-PURPOSE CLEANER formula (MP 2) and a microfiber rag. Don’t forget to rinse out the rag every so often when you start to see residue left behind when wiping.

DOOR HARDWARE, LIGHT SWITCHES, & HIGH-TOUCH AREAS (Deep Cleaning)
Clean door hardware, light-switch plates, handles, and high-touch elements with a cleaner and sanitizer that delivers a one-two punch of removing grime and also germs. The culprit is usually hands that leave behind either skin oils that attract dirt, causing grime, or smudges from the transfer of dirt from hands. These two cleaners work well to cut oils and also kill germs: try our MULTI-PURPOSE CLEANER AND SANITIZER (MP 3) or use a store-bought spray. Our favorite is Clorox Disinfectant Cleaning Spray. Spray the cleaner onto a soft microfiber cloth and wipe clean.
HARD FLOORS (Deep Cleaning House Floors)
Ceramic tile, sheet vinyl: Wet mop vs. dry mop
If you have a mop with pads that you can switch out, then you only need one type of mop. Otherwise, for dry and wet mopping, the dry mopping can be done with a vacuum, extendable duster, or add a dust pad onto a broom, and then you can use a string mop or a spin mop to later wet-mop surfaces that often need and can take a good scrub.
Dry mop: Classic Swiffer, O-Cedar dust mop, microfiber, or electrostatic dry mops are all used for one thing: to attract dust, debris, fine particles, and pet hair from the floor. They are also great at dusting off walls. Dry mops are also best on delicate surfaces (always check manufacturer’s recommendations) where water is not recommended.
Wet mop: String mops, spin mops, spray mops. A wet mop (or Swiffer brand or microfiber damp mop on some delicate flooring types) is used to remove stuck-on dirt and any sticky messes and dried-on dirt or films. Always dry mop first before wet and damp mopping!
Wet mopping for success:
Step 1: Coat the floor first with a mop that has been wrung out just after soaking in clean, warm water (from your bucket if using a string-type mop). Let the water on the floor loosen the dirt while you clean out the mop in your bucket. If the water is very dirty, change it.
Step 2: You may decide to add cleaner to the water for this step. Orange Glo brand is a popular cleaner, O’Cedar PACS come highly recommended for heavy cleaning jobs, or you can simply add one or two drops of dish soap to your water for a ‘maintenance’ clean. Dip and wring out the mop in clean water in your bucket and mop again to loosen and to pick up the loosened dirt. Clean out the mop with clean water and then…
Step 3: Using clean water, mop for the final pass to remove the cleaner and remaining dirt; let the floor air-dry.\
Wood floors (solid or engineered) and vinyl plank
Check first: Consult the manufacturer’s recommendations first! If you don’t have them, you can test to see if the flooring is sealed with a water- or solvent-based polyurethane. If a drop of water beads on the surface, you can wet-mop—but keep the mop very sparingly wet (heavily damp). If you run your finger over the hardwood floor and a smudge appears, your wood floors may be waxed, in which case you do not want to use a liquid to clean them. Check also if water gets absorbed into joints easily, as this can ruin your flooring, its underlayment, or leave mold below if it doesn’t dry properly.
If the floor is watertight: Mix a cleaning solution in a large bucket of 1 gallon of water + 1 cup distilled white vinegar or 1/2 cup of cleaning vinegar. Add a little lemon/citrus essential oil to the mix to give a fresh scent. Variations on this recipe include changing out the vinegar for a few drops of mild dish soap, but this often leaves a film, which might attract dirt later. A great store-bought alternative is Murphy’s Oil Soap diluted in water as directed.
Make sure the floor has been vacuumed or dry-mopped first to remove as much dry dirt as possible. Dip a clean microfiber mop into the solution and wring it until it is heavily damp and not dripping. You never want to apply excess water to the floor. (Plan your route!) Start at a far corner and work your way towards a door to exit the room. Rinse the mop often to remove dirt so it is not transferred to another part of the floor or scrapes the surface when the mop is pushed around. Let floor air-dry before walking on it. This can be aided by having the windows open or a fan on.
SOFT FLOORING (Deep Cleaning House Carpets & Rugs)
Vacuuming: Reliable sources inform me that the pushing motion of vacuuming is all about getting the vacuum into place; it’s the pulling action that actually takes up the dirt. Make sure when you pull, you do it more slowly to actually have a chance to get the most dirt up possible.
Baking soda can be used dry—sprinkle onto carpets, let sit 10 mins, and then vacuum to remove odors.
For carpet stains, use equal parts warm water and cleaning vinegar. Spray the mixture on the spot, then blot it with a clean, absorbent towel in a circular motion, starting in the middle and working outward. My go-to for removing carpet spots is the BISSELL brand Heavy Traffic Pre-treat and Spot Cleaner. Use as directed.
If red wine is spilled on a carpet, immediately pour some white wine on the spot and dab up the liquid with a clean cloth. (Does about the same thing as vinegar, but usually where there is red wine, there is white wine handy in a jiffy!)
If you rent a carpet cleaning machine, don’t forget—it is always recommended to vacuum the carpet first before using any steam cleaner or liquid-based cleaning equipment.
Furniture
Upholstered furniture—don’t forget to vacuum your upholstered furniture using an upholstery brush.
You can deodorize and lift stains on upholstered furniture by combining 1 cup of soda water + 1 Tbsp dish soap, dip an old, clean washcloth in the mix, wring it out, and wrap that cloth around the underside of a pan or pot lid (6–8” dia). While holding the handle and the ends of the cloth around the handle, move the underside of the lid with the cloth around it, back and forth in rows on your upholstery. The light pressure pushes the mix into the fabric. When you are finished and the upholstery is dry, you can vacuum the fabric with an upholstery brush on the vacuum cleaner.
SOFT FURNISHINGS & DÉCOR — FABRICS (Deep Cleaning House Textiles)
Pillows, throws, covers, and linens in your living room and bedroom — Add eucalyptus oil to pillows, pillow covers, or throws before placing them into the washing machine to make them smell fresh and rid them of dust mites. Adding a few sprinkles of baking soda to the wash also helps remove odors.
Sprinkle baking soda on your bathmats or musty towels, push it around to cover as much as possible, let it sit for a few minutes, and then throw them in the wash (wash as normal).
Washing machine deep clean — For front loaders: Use washing-machine cleaner solution above WASHING MACHINE CLEANING FORMULA (WM 1) and soak old face cloths or other cleaning cloths in the mixture, and then place these cloths in the bottom of the washing machine seal where mold and scum have collected. While that is soaking, empty the drain pump of stagnant water (usually the bottom front of the washer — small access panel), clean the filter, and replace it. Then, pull out the detergent tray completely and clean with water and the washing-machine cleaner if necessary. Remove the cloths and use them to wipe the inside of the seal. Then run the washing machine empty with 1 cup of white vinegar in the soap tray (detergent slot) to keep mold away.
For top loaders: Omit the first step with the seal soak. The plastic surround for the bleach pour opening can often be popped out to clean around. Some washers have a central agitator whose top cap can be removed to be cleaned. Also, gently rock the tub back and forth to access the top of the tub, which can be wiped clean.
Clothes dryers — Make sure to clean dryer lint filters after each use. Remove the filter and vacuum out the lint vent using a long-nosed vacuum attachment or a dryer-lint brush. A dryer-vent cleaning can be carried out by a professional, or you can carry out intermittent ones using a shop vac on reverse setting (blowing) into the vent and pushing stray lint out. Be sure to cover any holes or openings to maintain pressure and place a bucket at the open (exterior) end.
Final Note on How to Deep Clean Your Home
Use these steps as your room-by-room plan for deep cleaning house projects. Revisit the “Start Smart” section any time you need to reset your workflow, and keep this checklist handy for quick tips for deep cleaning house tasks before a sale, a move-in, or after renovations.